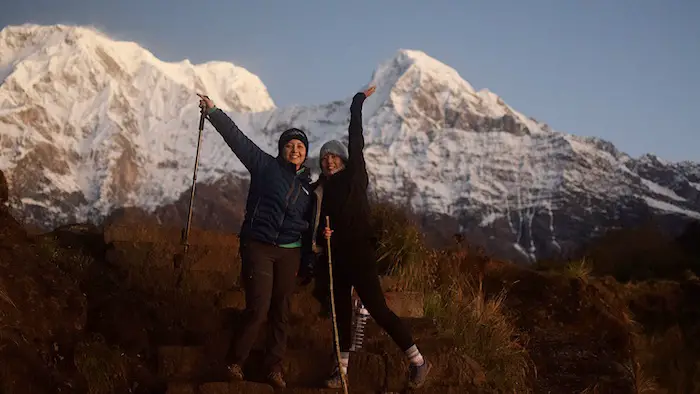
Tucked away amidst the majestic peaks of the Annapurna region, a hidden treasure waits for those daring enough to embark on an awe-inspiring adventure. A booming trail in the recent years, the Mardi Himal Trek offers a unique experience to immerse yourself in the raw beauty of Machhapuchhre and Annapurna Range.
The trail is vibrant with rhododendron forests, snow-capped peaks, and the air filled with a sense of tranquility that can only be experienced in the lap of the mountains. The Mardi Himal Trek offers just that and more, promising an unforgettable expedition through unspoiled landscapes, rich biodiversity, and the warm embrace of local hospitality.
The Mardi Trek presents a myriad of experiences for adventure seekers. Whether you are an experienced trekker or a novice venturing into the world of mountain exploration, this extraordinary route caters to all levels of expertise.
As one of the best treks in Nepal, we have provided a detailed summary of our trek, challenges, and tried to answer all the burning trekking questions!
Mardi Himal Trek Detail Summary
- District: Kaski
- Elevation: 4100 meters
- Difficulty: Moderate (Depending on your physical ability)
- Days: 3 days from and to Pokhara
- Cost: 7,000 NPR to 15,000 NPR (Depends on how much you spend)
- Best Season To Trek Mardi Himal: March-May, October-November
- The season when we traveled: October
- How to go to Mardi Himal Trek: You can take a taxi from Lakeside, Pokhara to Kande. Then you can start the trek from Australian Base Camp. There are sufficient teahouses on the way and you can refill your bottles! We encourage all trekkers to carry their own bottle, to help keep the trails clean and reduce the usage of plastics [:
Mardi Himal Trek Personal Itinerary
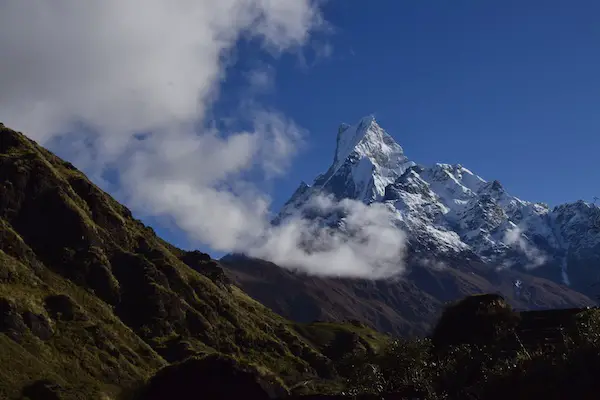
There are several routes to start the trek, however, we started our trek from Australian Base Camp. Another route you can opt for is drive till Landruk and start the trekking from there (a much shorter trek, we also did it from here in 2 days!)
Here’s a detailed itinerary for the Mardi Himal Trek starting from Pokhara and starting at Australian Base Camp:
Day 1: Pokhara to Kande and Trek to Australian Base Camp
By the time we left Pokhara, it was already late afternoon and we took the drive to Kande from Lakeside, which takes around an hour. If you’ve not eaten your lunch, there is a nice small restaurant that will serve a decent thali.
Then from Kande, start your trek towards Australian Base Camp. The trail is easier compared to the ascends that you will encounter during the trek. However, there are a lot of stairs to start off walk! The hike to the base camp is approximately 2 hours, and you can either rest, get your cup of hot tea and leave, or spend a night there. We chose the former and continued our trek to Pitam Deurali to spend the night there.
Day 2: Pitam Deurali to Badal Danda
After our breakfast, we started our trek to Badal Danda. Honestly, we didn’t know how far we were capable of walking. So, we decided to walk to the furthest point and spend the night at the location.
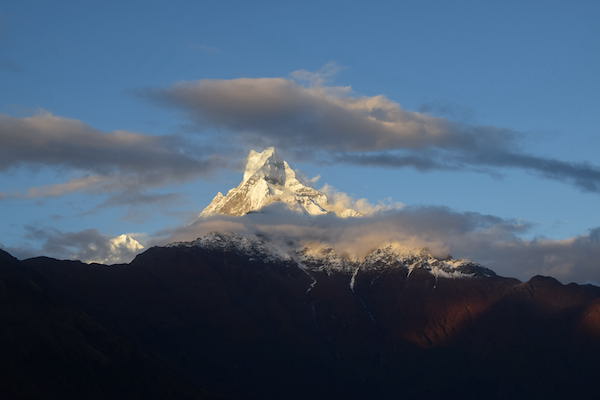
The entire trail is walking through enchanting forests of oak, maple, and rhododendron (Nepal’s national flower). Though we were a tad bit too late to see the rhododendrons blooming as many of them had been picked or fallen to the ground. As you trek higher on the trials, you’ll be witness breathtaking views of Mt. Machhapuchhre and the Annapurna range.
After 3-4 hours of walking we took a short break at Forest Camp for tea. The hotel served us really good lemon tea! Then we continued our trek towards Low Camp. After Forest Camp, the trail starts to gradually become more difficult, with never-ending stairs and panoramic views of the mountains and the valley.
We took frequent rests on the way and did not over exert ourselves. The trek is a bit challenging, so take rests when needed and there are several resting places on the trail. We reached Low Camp around 4pm and the view of the Machhapuchare was amazing. We were tempted to stay there but figured that Badal Danda was only a 2 hour walk away. And, let me tell you this, staying at Badal Danda was the best decision we made.
View from Badal Danda
A panoramic view of the Annapurna Range to your left and a full view of the Machhapuchare to your right was absolutely breathtaking. We reached Badal Danda at sunset and the golden hues of daylight gradually gave way to a kaleidoscope of vibrant colors painting the horizon.
The colors intensify, transforming the sky into a masterpiece of pinks, oranges, and purples. The ever-changing canvas seems to breathe with life as wisps of clouds dance around the peaks, adding an element of mystique to the scene.
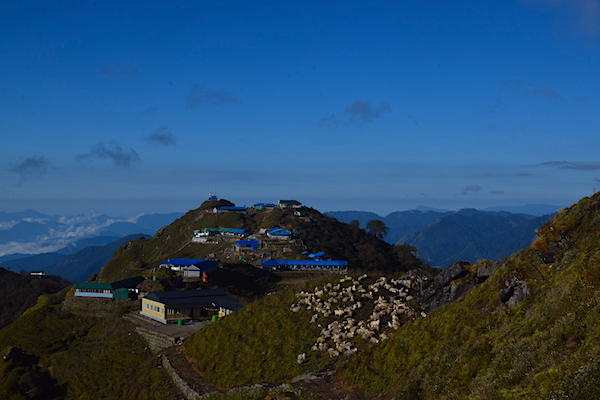
There are few teahouses at Badal Danda situated around different parts of hill. We stayed on the first hotel we reached at Badal Danda. They offered us a package deal for 1800 NPR/per person. It included breakfast, dinner, room and unlimited black tea. If you want hot water, you will have to pay an extra charge.
Day 3: Badal Danda to Mardi Himal Viewpoint
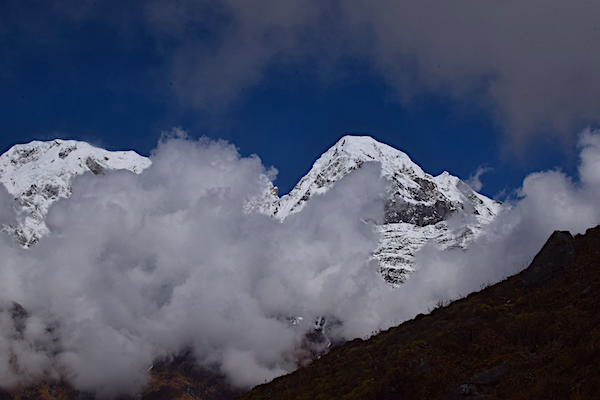
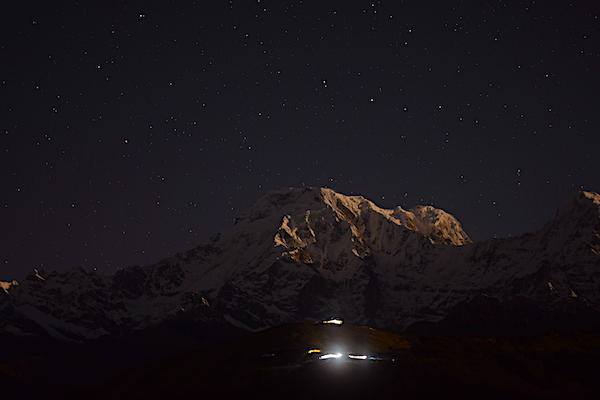
We woke up around 3am to get ready and leave for High Camp. It was super dark (which made us realize that we forgot to pack a flashlight) though the moon was shining bright! And the mountains looked like a poster – crystal clear and so grandeur.
The walk to the viewpoint is straight uphill, and offers continuous views of the mountains. We took a break in one of the resting points between Badal Danda and High Point to view the sunrise. We have no regrets of not being able to make it to High Camp for the sunrise. The sunrise looked stunning from our viewpoint as the rays touched the Himalayas
The mountains from High Camp definitely look much bigger and closer, however, every individual has their own preferences, and we were okay being in Badal Danda. We reached the Mardi Himal Viewpoint really late. By the time we reached the top, the clouds had already covered the mountains. But we really enjoyed being up there at 4,100 meters with our hot black teas.
It would’ve been impossible to get back to Pokhara on the same day, so we spent one more night at Badal Danda.
Day 4: Badal Danda to Pokhara
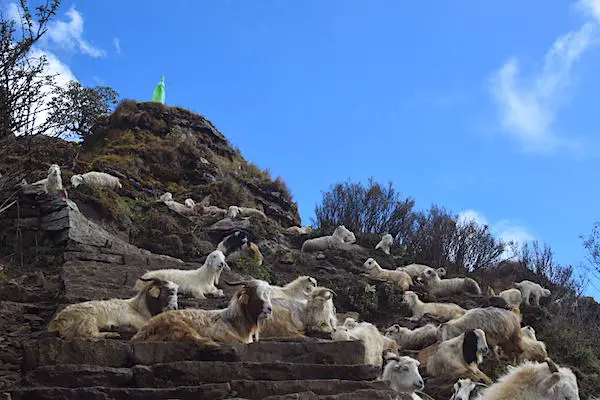
Let me tell you this, it wasn’t an easy downhill walk. We left Badal Danda around 9am and started our journey to Pokhara. We could either follow the same route or take the route from Siding.
So from Low Camp, we decided to go towards Siding. It was a non-stop downhill walk and felt like forever. There are several parts on the way that are very difficult to maneuver. It is a steep nonstop downhill route – when we say steep, it is really steep! It is not a road rather like a pathway for the rain water to flow. Also, it rained the night before and some parts of the trail were super muddy and slippery.
After walking for 5 hours, we came across a small village and rested for 30 mins. After being re-energized with a cup of delicious lemon tea, it took us another hour to reach Siding. We took adequate rest on the way and stopped 30 mins for lunch. From Siding you will get a jeep (you will have to wait in line for the jeep) that will take you till Hemja. Then from Hemja bazaar you can easily get a bus or cab to drive you to Lakeside, Pokhara.
Permits for Mardi Himal Trek
It is important to obtain the necessary permits to ensure a smooth and legal journey. Here are the permits typically required for the Mardi Himal Trek:
1. TIMS (Trekkers’ Information Management System) Card:
The TIMS card is a mandatory permit for all trekkers in Nepal. It helps to ensure the safety and security of trekkers by maintaining a database of trekking activities. There are two types of TIMS cards: the TIMS Green Card for independent trekkers and the TIMS Blue Card for trekkers traveling with a registered trekking agency.
It is important to note that in order to get your passes to trek in Nepal, you will need trekking insurance – check out my guide to the best trekking and hiking insurance!
2. Annapurna Conservation Area Permit (ACAP):
The ACAP is required as the Mardi Himal Trek falls within the Annapurna Conservation Area. The permit fee goes towards the conservation and preservation of the area’s unique biodiversity and cultural heritage. You can obtain the ACAP either in Kathmandu or Pokhara, providing the necessary information and paying the required fee.
It is recommended to carry multiple copies of your permits and keep them easily accessible throughout the trek. Trekking agencies or guides can assist you in obtaining the necessary permits, ensuring a hassle-free process. Remember to bring your original passport and necessary passport-sized photographs for permit applications.
Please note that permit requirements and fees may change, so it is advisable to check with reliable sources or local authorities for the most up-to-date information before starting your trek. Adhering to the permit regulations not only ensures a legal journey but also contributes to the conservation efforts of the region, preserving its natural beauty for future generations to enjoy.
Essential Packing List for Mardi Himal Trek:
When venturing into the mountains, the gear you pack becomes your reliable companion. It can make all the difference between a successful and enjoyable trek or a miserable experience. As you prepare for the Mardi Himal Trek, it’s crucial to pack the right equipment to ensure your comfort and safety throughout the journey. Here’s a comprehensive packing list to guide you:
- Trekking Bag: A sturdy trekking bag to carry your belongings during the trek. It should be durable and weather-resistant. Check out my blog about the best trekking Backpacks (and buyers guide)
- Rucksack with Rain Cover Daypack: A comfortable and well-fitting rucksack with a rain cover to carry your essentials during the day’s trek (especially for guides).
- Hiking Boots: High-quality hiking boots with ankle support and sturdy soles for excellent traction on varied terrains.
- Sandals or Shoes: Lightweight and comfortable sandals or shoes for relaxation and easy movement around the teahouses.
- Hiking Socks: Moisture-wicking and cushioned hiking socks to keep your feet dry, comfortable, and blister-free.
- Trekking Poles: Adjustable trekking poles to provide stability, support, and reduce strain on your joints while ascending or descending.
- T-Shirts: Lightweight and breathable t-shirts for comfortable trekking during the day.
- Fleece Pullover or Jacket: A warm and cozy fleece pullover or jacket to layer up during colder evenings and higher altitudes.
- Lightweight Thermal Tops: Thin and insulating thermal tops for layering and added warmth.
- Waterproof Jacket: A waterproof and windproof jacket to protect you from rain, wind, and sudden weather changes.
- Sports Bra (for women): Supportive and comfortable sports bras designed for trekking and outdoor activities.
- Hiking Shorts/ Pants: Quick-drying and comfortable hiking shorts and pants for versatility in different weather conditions.
- Waterproof Pants: Waterproof and breathable pants to keep you dry during heavy rain or snowfall.
This list provides a general overview of the essential packing list. I also have a blog on my go to packing list for Nepal!
Just keep in mind that you can adapt the list according to your personal preferences, the season, and the weather conditions during your trek. Always prioritize comfort, functionality, and weather protection when selecting your gear to make the most of your Mardi Himal Trek adventure.
Which Month is Best for Mardi Himal?
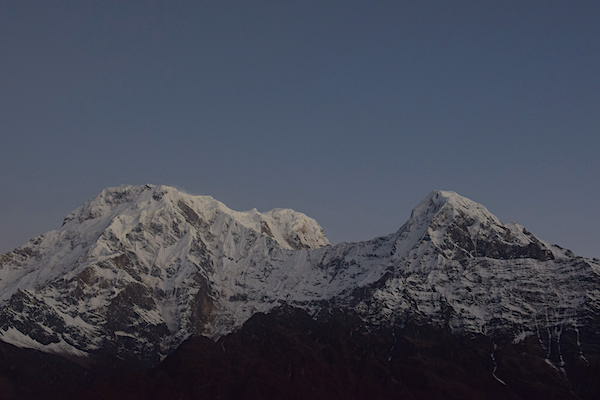
The best month to trek Mardi Himal is between March to May and October to November. These months have the best weather and views on the Mardi Himal trekking route.
The enchanting Annapurna Region, like the entirety of Nepal, experiences four distinct and captivating seasons: Spring, Summer, Autumn, and Winter. Each season holds its own allure, creating a unique atmosphere for trekkers to embrace.
How Safe is Mardi Himal Trekking?
The safety of the Mardi Himal Trek largely depends on various factors, including weather conditions, individual preparation, and adherence to safety guidelines. Here are some key points to consider regarding the safety of the Mardi Himal Trek:
- Well-Defined Trail: The Mardi Himal Trek follows a well-defined trail, making navigation relatively straightforward. This reduces the risk of getting lost or disoriented.
- Experienced Guides and Porters: Hiring an experienced guide or porter can enhance safety during the trek.
- Altitude Acclimatization: Adequate acclimatization is essential to minimize the risks of altitude sickness. It is recommended to ascend gradually, take rest days, stay hydrated, and listen to your body’s signals.
- Weather Awareness: The weather in the Himalayas can be unpredictable. It’s crucial to stay informed about the weather conditions before and during the trek. Be prepared for potential changes and carry appropriate clothing and gear.
- Proper Equipment: Having the right gear and equipment, such as sturdy hiking boots, proper clothing layers, and trekking poles, can improve safety and comfort during the trek.
- Emergency Preparedness: Carry a basic first aid kit and be aware of emergency procedures. Familiarize yourself with the symptoms of altitude sickness and other common trekking-related ailments.
- Local Regulations and Permits: Ensure that you have obtained the necessary permits, such as the TIMS card and Annapurna Conservation Area Permit, and follow local regulations and guidelines.
- Travel Insurance: It is highly recommended to have comprehensive travel insurance that covers medical emergencies, evacuation, and trekking-related activities.
A Journey To Remember: Mardi Himal Trek
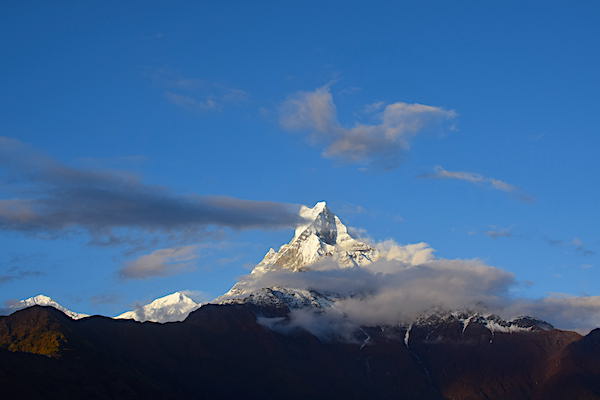
From the mesmerizing sunrise vistas at High Camp to the serene beauty of Mardi Himal Base Camp, this trek has offered a gateway to untouched natural wonders and the local culture of the Annapurna region.
From the awe-inspiring mountain vistas to the serene trails, this trek offers a remarkable journey filled with unforgettable moments. Whether it’s the sense of accomplishment upon reaching the Mardi Himal Viewpoint or the warm interactions with local communities along the way, this trek leaves a lasting impression. Embrace the magic of the Mardi Himal Trek and treasure the memories of this remarkable experience.
FAQs: Mardi Himal Trek
The Mardi Himal trek covers a total distance of 40 km (25 mi) and typically takes around 3-5 days to complete. If you choose to combine it with another route like Poon Hill or Annapurna Base Camp, you should allocate an additional 3-5 days for the extended journey.
The Mardi Himal Trek is classified as a moderate difficulty trek. Although it is a relatively new trek, it offers breathtaking beauty that will leave you in awe. The Mardi Himal Trek is suitable for people of all age groups, making it accessible for a wide range of adventurers.
Mardi Himal Trek will take you through the Annapurna region of Nepal, to the highest point of your journey which is the Mardi Himal View Point at 4100m.
Autumn is the best time of the year for Mardi Himal Trek. It falls in September, October and November. This period stands as one of the peak seasons for trekking in Nepal. The post-monsoon autumn months bring clarity to the Annapurna region. The summer rainfall washes away the mist, revealing crystal-clear surroundings that enhance the allure of your trekking experience.
